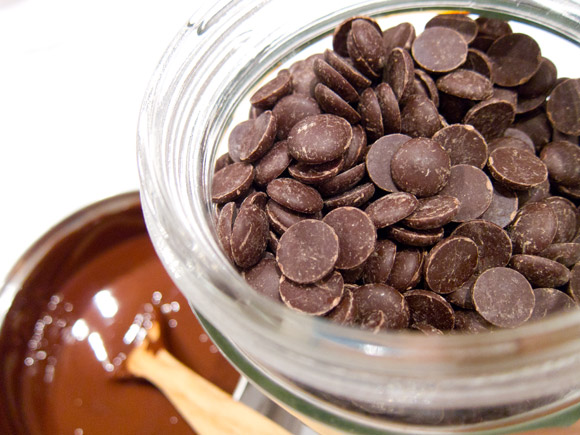
 Over the years I’d played with chocolate, but it wasn’t until this last holiday season that I got into working with the brown gold more extensively. I found myself spending an inordinate amount of time trying to temper my chocolate. Because that’s what I’d read about online, you see. Melting, cooling, more chocolate, measuring temperatures – rinse and repeat a million times – to get things just so. And yet, I couldn’t imagine that the multitudes of chocolatiers out there were fussing over temperatures and crystal formation like I had over Christmas. I clearly needed some hands-on guidance.
The first place that came to mind was George Brown. But their Introduction To Chocolate course was overkill – not only was it 11 classes, but it had a pre-requisite as well. Then I came across Stubbe Chocolates and found their classes to be exactly what I needed: a compact demo with a hands-on component about tempering chocolate. Perfect.
Why such a stir over tempering? Well, if you’ve ever left a chocolate bar in the sun, you’ll know that the chocolate becomes mushy and muddy-looking, even after it has resolidified. Tempering chocolate is about getting the chocolate to that state where it has a good snap and a satin finish. This requires heating the chocolate up and then cooling it back down to a specific temperature – best allowing the crystalline structure of the cocoa to (re)form.
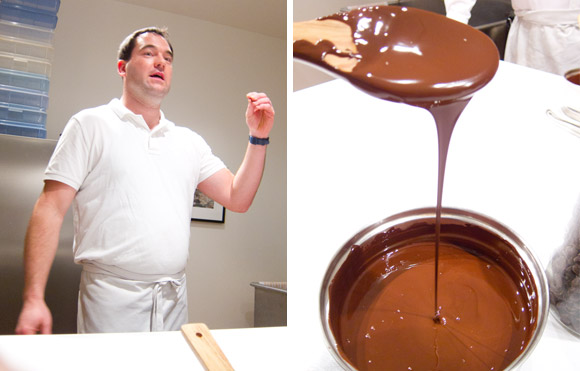
Daniel Stubbe kicks off our class with some pre-melted chocolate.
Since most people don’t have a giant cooled marble slab at their disposal, the class at Stubbe would teach the widely adopted seed method – the method I had employed over the holidays. But I was at that awkward stage of knowing what to do; second-guessing each step. I wanted someone to show me the timing and process of things so I could get beyond the numbers. That someone, was Daniel Stubbe.

The night of the class, I was directed to a bright white room at the back of the Stubbe Chocolates on Dupont. A large table dominated the space, and at its centre, our implements and ingredients for the evening stood sentry. Steam wafted up from double boilers posted on the perimeter, its nested pots of melted chocolate at the ready. Once we were all assembled, Daniel began his talk on chocolate and the basics of tempering.
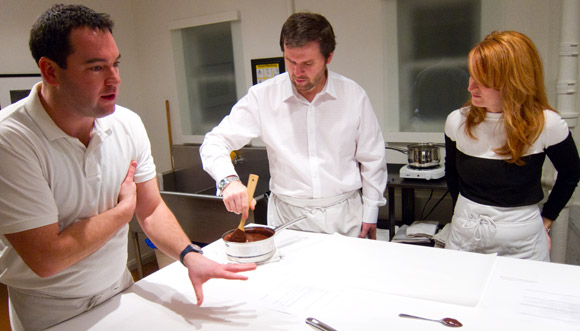
Brave man, he who wears a white shirt when working with chocolate…!
His words were coloured with a faint German accent as he described to us the process of heating the chocolate above 104°F, then adding solid tempered chocolate to both foster the formation of crystals (thus, seeding the chocoalte), and to bring the temperature back down to 88-90°F (the ideal range for crystallization of milk chocolate). So we went to work.

I pitched handfuls of chocolate pastilles into the pot, stirring to try and keep things smooth and melted (I’ll need to work on that). When I felt that the mixture was ready, I dipped the back of a spoon into the molten cocoa mass and let it rest. Daniel tells us the chocolate should set in a couple of minutes and have a glossy sheen if I’d done it right. After an impatient 120 seconds, it seemed like I had the ideal finish. Success.

With the chocolate ready, we moved on to our project of the night: making boxes. Being the odd one out in the class meant that I got to hog the entire pot of chocolate and make two boxes. I began by spreading an even layer of chocolate on to a large sheet of parchment, shaking the parchment to smooth things out. I waited (more waiting!) for a few minutes for the chocolate to set, then got to cutting.
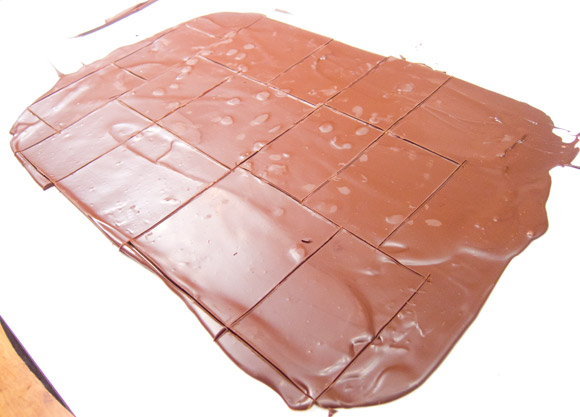

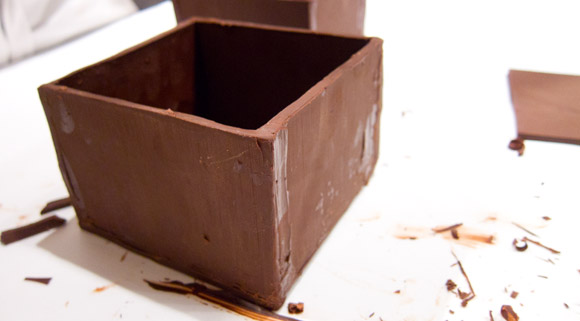
Once the walls had hardened, I began assembly by dipping the edges in melted chocolate and using that as the glue. After the seams had set, I cleaned up the corners. The next step was to use a wide brush to paint more melted chocolate on the box to eliminate all traces of my fingerprints and the dull sheen transferred from the parchment. Of course, we come to my favourite phase: decoration.
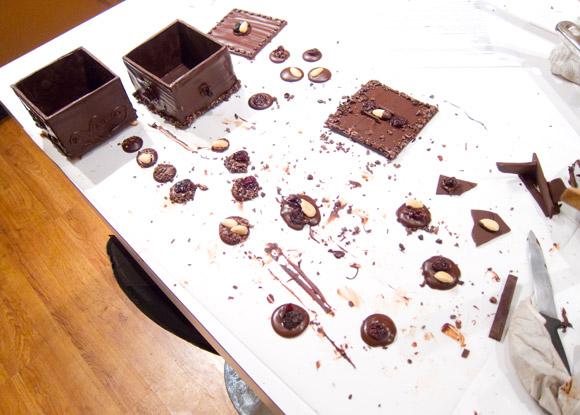
Of course, it was an absolute mess by the time I’d finished making boxes and mendiants. Cocoa nibs were strewn every which way with dried cherries and (Marcona?) almonds also in play. Lots of fun. But with my pot of chocolate solidified and my pastry bag of chocolate spent, it was time to wrap up.


 The couple across from me had some great boxes, and their oeuvre included a hilarious smiley-face and an attempt at a Star Trek logo. I wish I had thought to go nerd on one of my boxes – mine were decorated with swirls and dots (top two photos) – very boring.
So, after all was said and done, I now have a better grasp of tempering. I discovered I wasn’t too far off, but I just required a bit more patience in regards to rates of hardening for chocolate. Most importantly, I have a good feel for the temperature – which hopefully means I don’t have to compulsively thermometer-check. This, above all, was what I was hoping for when I took this class and I am pleased to have been able to gain that experience. Thanks to Daniel at Stubbe Chocolates for an informative and entertaining evening!
Stubbe Chocolates 653 Dupont Street, Toronto
[mappress mapid=”48″]
